Gravity Forms vs Ninja Forms: Which Form Plugin Wins?
Every blog and portfolio site needs a nice-looking contact form that matches the theme of the website.
However, with multiple excellent WordPress form plugins available, picking the right one can be a considerable challenge.
Gravity Forms and Ninja Forms are the most popular contact form plugins available for WordPress – but they each have their own perks and pitfalls.
Our comparison should help you find the best plugin out of the two.
Gravity Forms vs Ninja Forms: Overall Review
There’s a lot to consider – features, ease of use, pricing, support, and integrations.
Gravity Forms Overall
Gravity Forms goes easy on the wallet and impresses with its rich selection of features. The interface is plain but intuitive, and the plugin is easy to use. The extensive library of add-ons and the great pricing make one of the best form plugins for WordPress.
However, support is disappointing, and it has limited documentation, which is something to look out for if you’re a WordPress beginner.
Ninja Forms Overall
Ninja Forms boasts a beautiful interface and comes loaded with features. It is easy to use and has adequate support and documentation, but its high plan prices and pricey integrations make it less accessible.
Feature Comparison
Both of the plugins offer a host of features, but the ease of creating a form is arguably more important. In addition to reviewing the features, we will also gauge the intuitiveness of the core form builders.
Gravity Forms
Creating a form is as simple as clicking on the “Add New” button on the top-left of the dashboard.
Alternatively, you can pick from and edit the pre-built forms available on the dashboard.
Gravity Forms comes with detailed illustrations of how to use the builder, which help you get the knack of the editor.
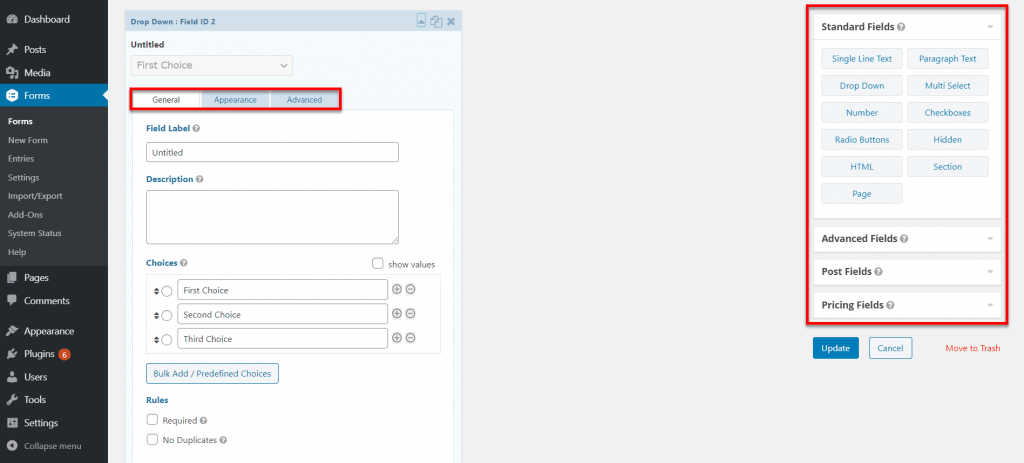
You will find the field types on the panel on the right, and you can drag and drop the fields in any order you please and create a form.
Gravity Forms offers dozens of fields to pick from, and other than the standard text boxes and dropdowns, you also get access to post fields that enable you to integrate a blog into the form.
Additionally, the Pricing fields can help you create a pricing table with details like the product quantity, shipping cost, and the total cost of products.
The Advanced fields include username and password fields, quizzes and surveys, and also file upload and captcha fields.
The interface is plain, but that does not affect its ease of use – it is intuitive enough for complete beginners to use.
Clicking on a field in the Edit panel brings up the customization options.
In addition to specifying the required labels and descriptions, the options enable you to set rules, such as if the field is required, by checking the right box.
The Appearance tab allows you to set placeholders, set if the field label is visible, and configure the placement of the description.
You can also customize field sizes and add custom CSS classes from this tab.
The Advanced tab helps you set the admin field label, the default value, and the field’s visibility. It also enables you to set conditional logic, which makes the form dynamic.
After you build your form, you will notice that the form feels rather dull. This is because the plugin’s forms are designed to inherit the style of your theme.
It cannot inherit the style in the WordPress backend – which is why you see a plain form. You can click on the preview button to see the form with styling applied to it.
If you have a beautiful theme, the form will also look beautiful. But there is no easy way to customize the form’s look and feel. You will need to acquaint yourself with CSS to change the form’s appearance.
Inserting the form on a page or a post is simple. All you have to do is click on the “Add Form” button above the WordPress text editor. A menu with a dropdown will appear, and you can pick your form from it.
Gravity Forms works well with Gutenberg as well – all you need to do to add a form is use the form block that you will find under the “Embeds” category.
All in all, Gravity Forms boasts excellent features and an intuitive interface, and the only downside is that the interface is plain and has no visual charm to it.
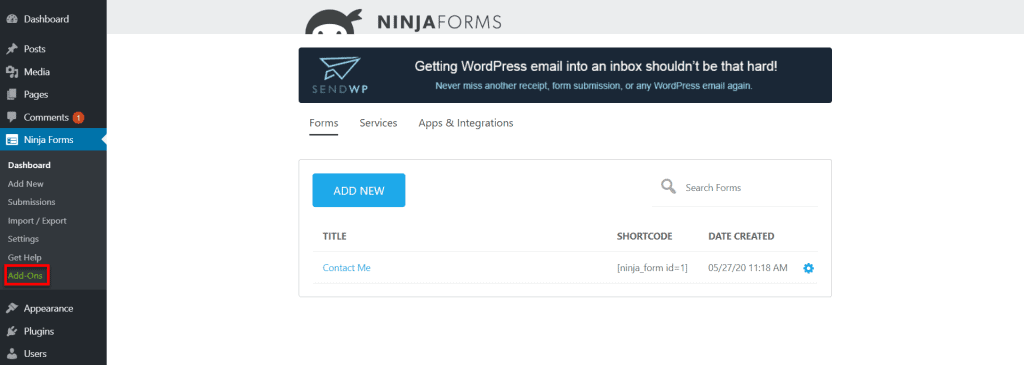
Ninja Forms
Alike Gravity Forms, Ninja Forms’ dashboard also comes with an “Add New”
button.
The plugin offers 16 templates that can help you get a head start. In contrast, Gravity Forms only offers a dozen templates.
The form editor is similar to the Gravity Form editor. The drag and drop functionality is the same, and the form is on the left with the fields on the right. However, the interface is a lot neater and attractive.
One advantage with Ninja Forms is that you can see the styling applied to the form just as you build it – you don’t need to hit a Preview button like with Gravity Forms.
Clicking on an element on the form brings up the options panel. With this panel, you can change the text and the forms’ appearance and add custom CSS classes to individual elements.
Much like in Gravity Forms, you will still need to be familiar with CSS to make extensive visual changes. However, adding CSS to blocks is much simpler on Ninja Forms, and you also have more control over element appearance in comparison.
The Advanced section of the form page enables you to alter the default display settings, such as the default label position. You can also add custom labels from this section.
The section also makes adding restrictions, calculations, and conditional logic to your form simple.
In addition to all this, you can also add captchas, create multi-part forms, add “Upload File” buttons, and even create multi-column layouts for forms. The plugin also has a developer mode that you can toggle for greater control over the plugin.
Adding a form to a page or post is simple – you can use the same “Add Forms” button above the WordPress text editor and pick the right form from the dropdown.
Ninja Forms also has a dedicated Gutenberg block that you can use to embed your form.
All in all, Ninja Forms is very user friendly and boasts a vast array of features.
When comparing the two plugins based on features, both are equally feature-rich. However, since Ninja Forms has a better interface, enables real-time form previews, and extra control over CSS classes, it feels more powerful.
Gravity Forms vs Ninja Forms User Interface
Beyond features, the interface is what defines your experience with the plugins.
A good plugin is easy to set up and boasts a visually appealing interface. Intuitive design and structure are also some traits of a good plugin.
Gravity Forms
After you purchase Gravity Forms, you must install the plugin using the file they give you.
The interface is intuitive and straightforward, with no extra fluff or buffer.
Ninja Forms
You can find and install the free version of Ninja Forms with a simple search from the Plugins menu on WordPress.
The interface is attractive and makes creating forms quick and simple.
If you decide to get a plan or purchase an add-on, you can input your license number or install an add-on without any risk of deleting the forms you created.
Overall, both plugins are easy to use, but Ninja Forms is a lot more attractive.
Integration with Third-Party Services
Integrations are what separate the regular form plugins from the advanced form plugins. The size of the integration library and the relevance of the add-ons make a significant difference in your experience.
Gravity Forms
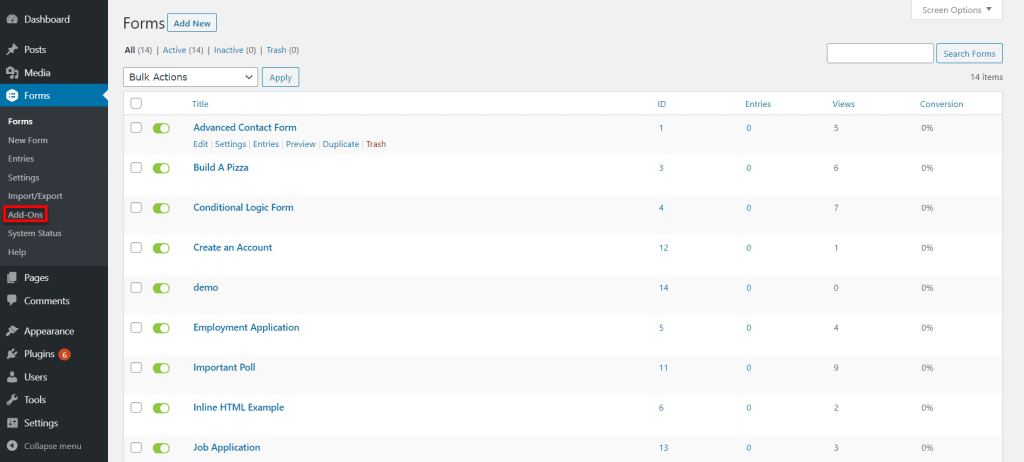
You can manage Gravity Forms’ add-ons from the “Add-ons” tab in the WordPress sidebar. The add-ons you see in the tab depends on the plan you purchase.
You likely won’t need to use all of the add-ons, and you can deactivate the ones you’re not using.
To make the add-ons work, you must go to the Settings menu from the Gravity Forms tab. You will see all of the activated add-ons on the left panel.
Here, you must add the API keys and follow other instructions to make the add-ons work. These must be set up individually.
Gravity Forms boasts a massive library of integrations that includes tools like ActiveCampaign, AWeber, GetResponse, MailChimp, Agile CRM, Dropbox, Freshbooks, Slack, Trello, PayPal, and many more.
The company is always developing new add-ons, which means you will get access to more tools over time.
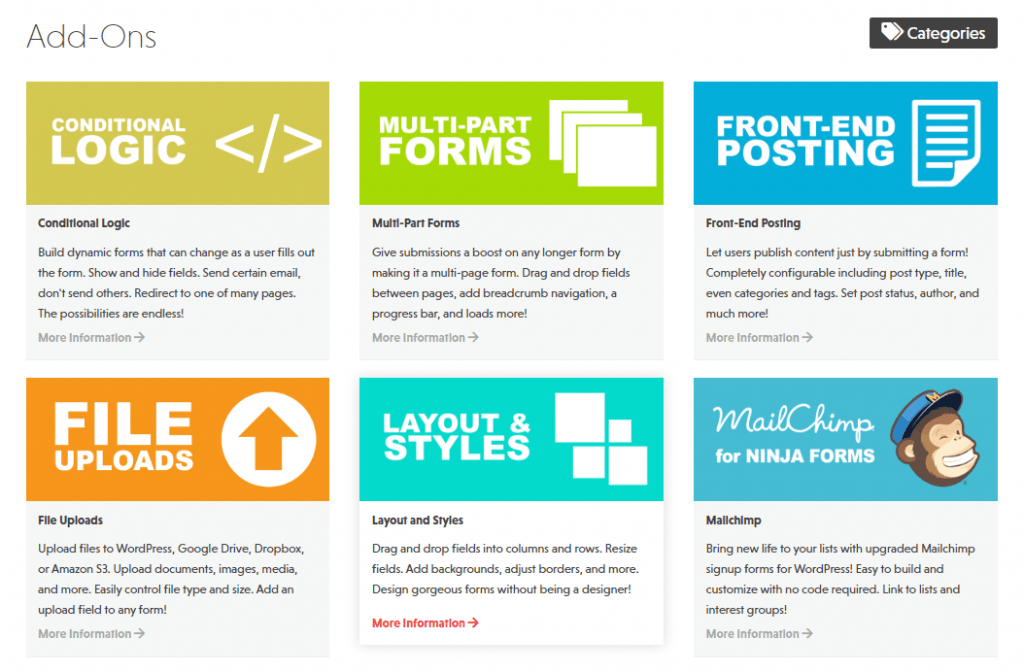
Ninja Forms
Ninja Forms was built with the modular add-on approach in mind. You don’t have to purchase a plan to enable just one functionality. You can buy integrations individually.

Add-ons are also plugins that, when installed, add features to Ninja Forms. When you make a purchase, you get a zipped plugin that you must install from the Plugins menu on WordPress.
Ninja Forms also has a massive catalog of add-ons, and they frequently add more of them.
Some of their most popular add-ons include MailChimp, Conditional Logic, Front-end Posting, File Uploads, AWeber, Campaign Monitor, Trello, Stripe, and Zapier.
Both plugins have an extensive library of integrations – no plugin is better than the other in this respect.
Free vs Premium Differences
A lot of times, the cost is the most significant factor when choosing a new tool.
Gravity Forms
Gravity Forms has no free version, but they do offer a demo on their website that you can use to try out the tool. You cannot use the demo on your website.
The only way to get Gravity Forms on your website is to get one of their three plans.
Most users only need the $59/year Basic plans since it comes with email marketing add-ons and other extensions.
However, marketing agencies are better off getting the Pro or Elite Plans ($159/year and $259/year respectively) since those include chat, CRM, and payment add-ons.
Ninja Forms
The Ninja Forms free plugin comes with the core form builder and dozens of custom fields.
To enable additional functionality, you can either purchase add-ons individually or get one of their plans.
Their Personal plan comes in at $99, giving you access to the form building essentials and some email marketing add-ons. The $199 Professional plan enables you to accept payments and integrate user management functionalities to your site.
The $499 Agency plan is right for enterprises looking to make full use of the Ninja Forms suite. Individual add-ons are priced between $29 and $129, and if you’re an individual looking to enhance your site, this will work out cheaper for you.
There’s a significant contrast between the two plugins in the pricing aspect. Gravity Forms is cheap, but Ninja Forms is flexible.
Support/Documentation
Plugins don’t always work like they should – which is why stellar customer support is essential.
Gravity Forms
They do not offer any phone, email, or live chat support. If you need help, you must open a ticket.
Ticket support is slow – and you may have to wait for days before getting a resolution.
The “Help” section of the plugin can help you find some answers, but the full documentation is only available on their website.
Documentation isn’t extensive, and only brushes over some of the more important aspects of the software.
Ninja Forms
You can get support by either emailing Ninja Forms support or opening a ticket through the plugin backend.
Although this is convenient, there is one pitfall – support is only available Monday through Friday.
Ninja Forms impresses with its extensive documentation, and the high-quality video walkthroughs can help you resolve issues with ease.
While both plugins have weak support options, Gravity Forms does not have adequate documentation, which is disappointing considering it costs $59.
Verdict: Which is Best?
I hope you found this Gravity Forms vs Ninja Forms review helpful. Let’s summarize.
It is clear that both plugins have a robust array of features and offer all the functionality you would need. Both plugins go above and beyond standard contact form plugins.
However, Ninja Forms has a clear edge over Gravity Forms. It has a better interface, offers fast support, and has dozens of integrations that enhance the already great plugin.
If you’re looking for an easy-to-use plugin that is also loaded with features, you can get Ninja Forms without hesitation.